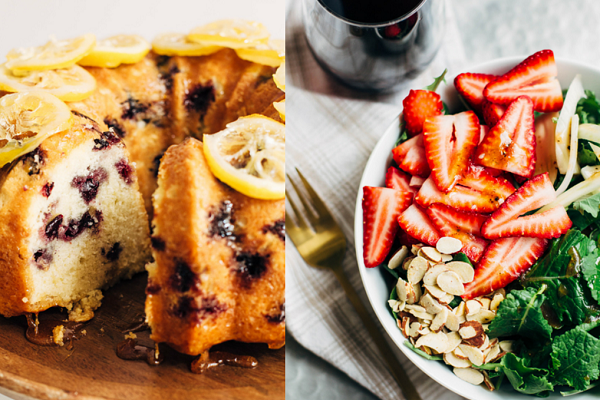
 Have you noticed California Giant Berry Farm’s food photography recently? It’s kind of amazing… and honestly, it’s made my mouth water on more than one occasion. Kristin Dinsmore has been killing it in the kitchen AND behind the camera lens with her delicious berry creations and her incredible food photography skills. Lucky for you, fresh produce marketers, she’s agreed to share some tips that will take your photos from just okay to “Oh. My. Goodness.” So whether you’re looking to start a consumer-facing blog like The Buzz or you just want to up your Instagram game, these tips are sure to attract consumers and set you up for success. Here’s Kristin’s valuable advice!
From Kristin Dinsmore with California Giant Berry Farms:
Raise your hand if you have a really fancy DSLR camera, but have absolutely no idea how to use it. This was me a year ago. I had no idea what it meant to shoot in RAW, I didn’t know the difference between ISO and shutter speed, and I was using the flash. Eek! But after spending hours watching “how-to” videos online and attending food photography workshops, I now have a better grasp on my camera’s functions and know how to use my camera to its fullest extent. Read on for some tips that I use during every photo shoot.
Food Photography Tips for Beginners
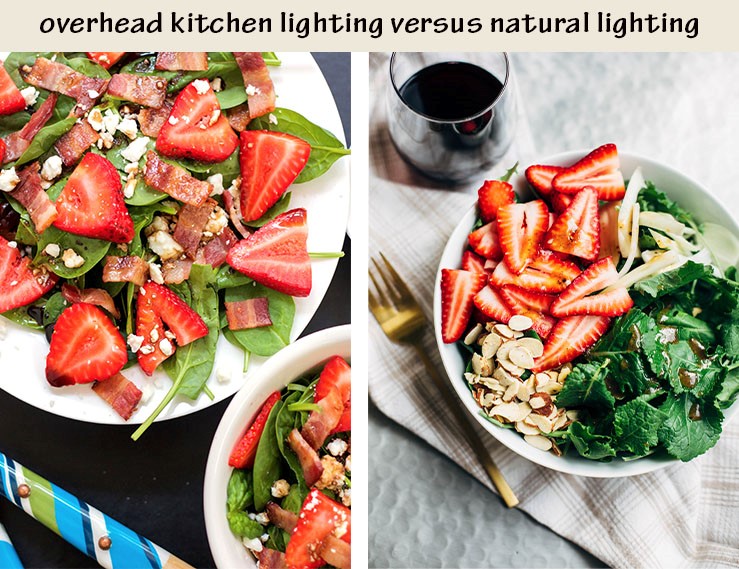
Natural light is your best friend
I always use natural lighting when photographing recipes, and I prefer to shoot when it is cloudy or overcast outside. The pictures tend to stay more true to color and usually look less “yellow.” Always turn off your kitchen lights!
Shoot in RAW format
Shooting in RAW format allows you to manually adjust all of your camera settings in Adobe Lightroom. If you don’t shoot in RAW, you are limited to certain edits. Shooting in RAW also allows you to enlarge photos without them looking pixelated.
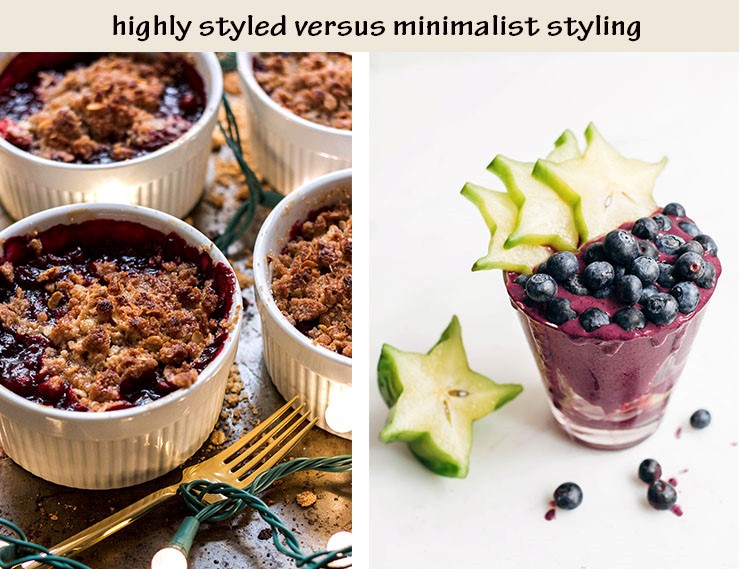
Less is more
I use to think that more props were better. But overtime, I’ve realized that my pictures pop with fewer props. Sometimes I enjoy styling more of a “lifestyle” shot with props, but for the most part, I prefer to focus on the subject at hand.
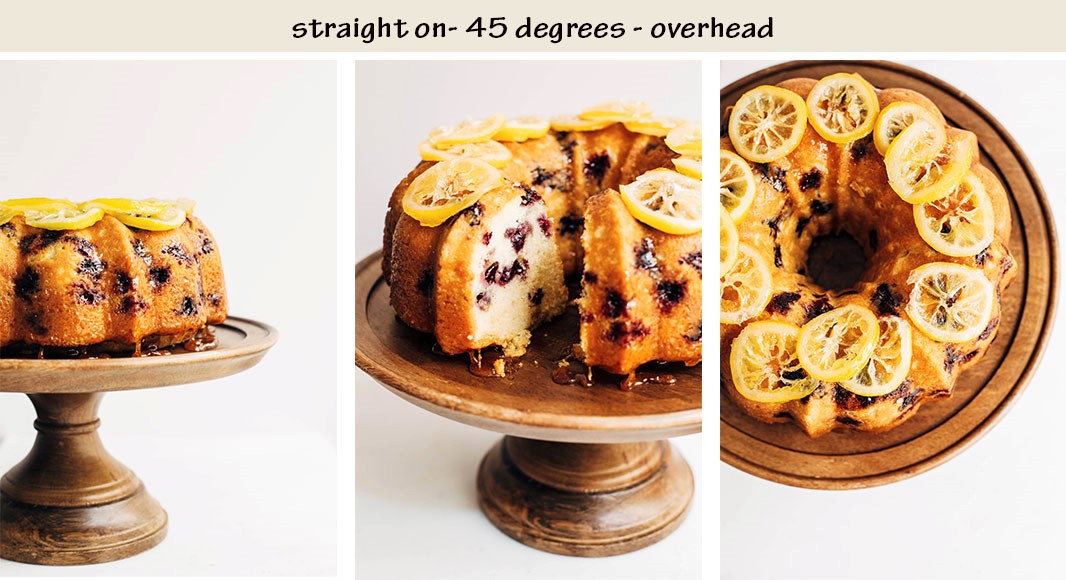
The three money shots
I always like to do a straight-on shot, an overhead shot, and a 45 degree angle shot.
Start each photo shoot with the same camera settings
Once you find the ideal ISO, shutter speed and aperture settings for your camera (assuming you shoot your photos in the same spot each time), use those settings as your guideline for future shoots. Then you can adjust if that day happens to be extremely sunny or very dark.
Never, ever use the flash
Just don’t. Plain and simple 🙂
I hope you will find these tips helpful for your next photoshoot! If you aren’t equipped with a fancy DSLR camera for your company’s photos, you may enjoy these tips for taking great Instagram shots using your iPhone.
{{cta(‘fbc3d34f-cf67-49f8-9826-6a9a4c06733c’)}}